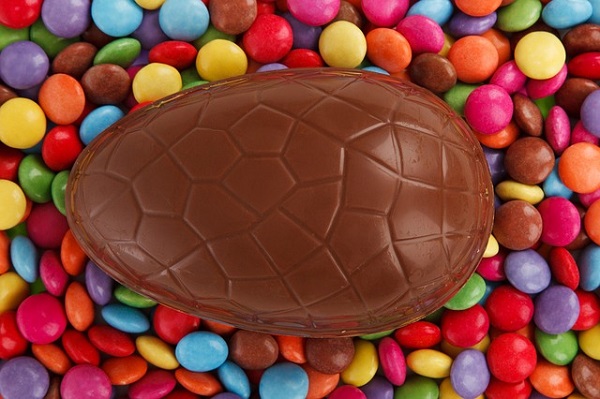
How to make easy chocolate Easter eggs with your children

Easter eggs might seem like a hopelessly difficult thing to make yourself, the preserve of people who also whip up their own bread for their morning toast and never seem to make a mess in the kitchen. In fact, homemade Easter eggs are much easier than you’d think – and a perfect activity for keeping the kids occupied during the holidays.
Incidentally, making bread is actually quite easy. It’s far easier than keeping your kitchen clean!
As well as being a fun activity and surprisingly easy, making your own Easter eggs is great if your kids have any allergies or intolerances as you can be 100% sure of everything that goes into it. If you really want to go fancy, you can make your own chocolate, eliminating any preservatives or nasties you might find in shop-bought chocolate, and even cutting down on sugar.
The only special equipment you’ll need is Easter egg moulds, which you can get from any kitchen shop, some craft supplies shops, or else you can order online. You might make use of a pastry brush (or a small, unused paintbrush) though if you don’t have one, you’ll manage with the back of a spoon.
You’ll only actually need a single Easter egg mould (you can repeat the process as many times as necessary to make the quantity of Easter eggs you want), though if your kids are anything like ours, it could be worth investing in as many moulds as you have children!
Want to make your own chocolate? We love this simple chocolate recipe from Nigella.com.
Alternatively, you can simply melt your favourite chocolate, then spoon carefully into the moulds. Check that the chocolate is evenly spread in the moulds by holding it up to the light (this is where the pastry brush comes in handy). Tip any excess chocolate back into the melting bowl and use a knife along the top of the mould to give the egg half a straight edge (you’ll be grateful for this when it comes time to put the two halves together).
Keep a little melted chocolate back to use as glue to hold the two sides together, and also if you plan to stick sweets or nuts or any other decorations to the outside of the finished eggs.
Pop the egg moulds into the fridge for about 10 minutes to set (keep an eye on them, as if you leave them too long the condensation from the fridge could discolour the chocolate).
When they are firm to touch, bring them out of the fridge and very gently pop the Easter egg moulds so that the chocolate is released from the edges, then leave the egg sitting in the mould for a few more minutes until it goes completely hard.
Once hard, you can remove from the mould and ‘glue’ the two sides together using the remaining melted chocolate. Then decorate to taste and enjoy your homemade Easter eggs!
