0800 377 7507
Get in touchTop tips on easy flower arranging
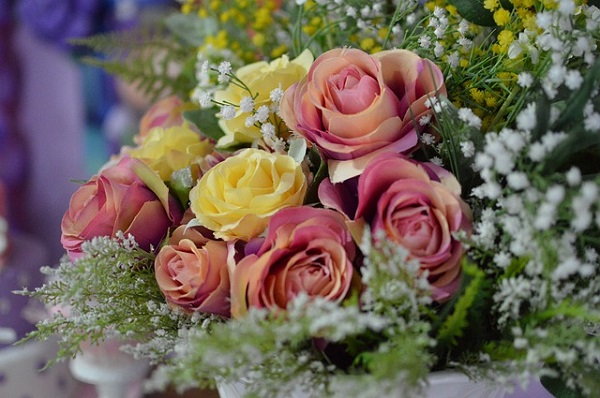
Many of us are fortunate to have some lovely blooms in our gardens with which to make flower arrangements with, from the smallest bunch to cheer up a bedroom to a more elaborate display fit for a church celebration.
However, creating a stunning flower arrangement is a true work of art and requires planning, creativity and patience. The professional domestic cleaning experts, MOLLY MAID, have come up with a few top tips on the basics to flower arranging, which should help to get you started. You will find that once you have made a few arrangements, you will have started to develop an ‘eye’ for wht works best for you. Enjoy it too… it can be a really therapeutic hobby.
Stage One – Planning
- When flower arranging it is vital to plan – think about the size of the space in which your arrangement will be placed, and choose the size of your container and flowers accordingly. A huge vase and lots of flowers will look overcrowded on a small side table, and equally, a small vase and a few flowers would be completely lost in a large area such as a Church.
- It is important when flower arranging to plan colours and most importantly what vase you are going to use. Using opaque vases instead of glass can help to hide messy stems and quietly complement flowers rather than competing with them.
- If you’re not a seasoned professional in flower arranging or still new to the art, opt for slender-necked vessels. Vases with smaller mouths do the work for you—holding flowers together without letting them droop—so even the most basic display looks gorgeous. Jugs can work so well and give off a rustic flair.
- Try to think in odd numbers. When planning the colour and design of your arrangement, always choose odd number of stems.
- Then, think in terms of asymmetry combined with varied depth and height when arranging as this is what happen in nature.
- When making an arrangement for a dining table, keep it low (no more than 9″ high at its highest point) so that guests can see one another across the table without having to fight their way through the flowers! However, if you are making an arrangement for a buffet table, always make the arrangement on a pedestal or in a tall vase to bring the flowers up and out of the way of the food.
- Sketch out how you want you arrangement to look. This will help you to break down when to do what.
Stage Two – Assembling
- Create a foundation or framework with foliage when flower arranging. Build an asymmetrical shape that leans on the lip of the vase and has a high point at the back. Make sure it’s not too thick, so there’s room to include the flowers.
- Then add large ‘face’ flowers, cutting stems at different lengths so some blooms nestle low and others extend.
- Use flowers in different stages of development, from bud to full bloom. Place the buds at the top and edges of the arrangement, and the largest fullest flowers in the centre of the arrangement, more towards the bottom of the design, to form the focal area. Half-open flowers can fall anywhere between these two.
- Don’t be afraid to cut tall flowers very short. Playing with scale can give even a solitary bloom a lot of impact.
- Use the crisscrossed foliage stems in the vase to hold flowers where you want them.
- When using open flowers such as Roses, Daffodils, Gerbera for example, try to turn some of them at different angles to show a different shape.
- Make sure that your colours are evenly balanced across the arrangement to avoid one side being ‘heavier’ in colour than the other.
Stage Three – Finishing Touches
- Weave in wispy elements, like climbing flowering vines or ferns, in three strategic spots: up high on one side, down low (spilling out of the vase), and in the middle, as if they’ve pushed their way through a cluster of larger blooms. By including these ‘wispy’ elements, you are giving your flower arrangement more depth and texture – some of these you will find in your very own garden or trees.
Have fun.
